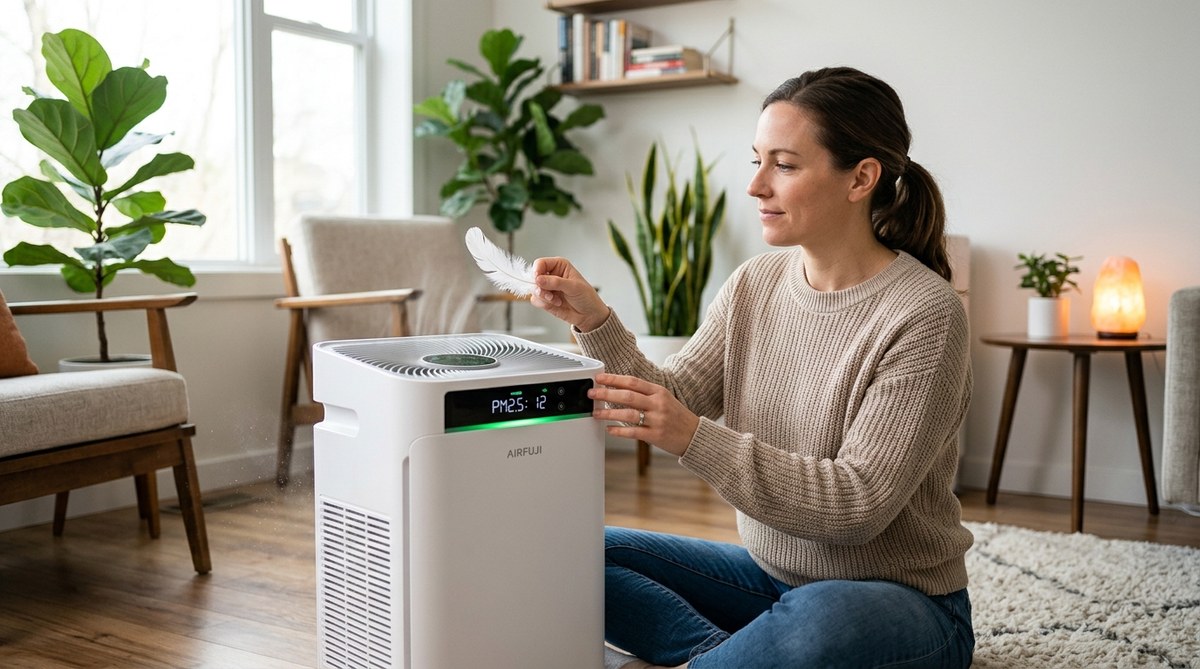
You just spent good money on an air purifier. Maybe you bought it to help with seasonal allergies, or to clear out pet dander, or to make the bedroom feel fresher at night. You plug it in, set it to high, and wait. But how do you know it is doing anything? Without a lab-grade particle counter, it can feel like guessing. The good news is you do not need fancy equipment to check. Your own senses, a few household items, and a little patience can tell you everything you need to know.
You can verify your air purifier’s performance without spending a dime on testing gear. Use the white tissue test to check filter airflow. Tape a small strip of ribbon to the outlet to see air movement. Monitor dust buildup on surfaces near the unit. Watch for changes in your allergy symptoms over a week. These five low-cost methods give you real proof your machine is working.
The white tissue test for airflow
This is the easiest check you can do. Grab a standard white tissue and hold it a few inches from the air outlet on your purifier. Turn the machine on to its highest fan speed. The tissue should lift and stay pressed against the grille. If it flutters weakly or falls off, your airflow is restricted.
A clogged pre-filter or a dirty HEPA filter is the usual cause. Many people forget that how to maintain your dehumidifier for long-lasting indoor comfort follows similar logic. Filters need regular attention. If the tissue test fails, check your filter. A quick vacuum of the pre-filter often restores full airflow.
The ribbon strip method
Cut a piece of lightweight ribbon about four inches long. Use something like gift ribbon or a thin strip of fabric. Tape one end to the top of the purifier’s outlet grille so the ribbon hangs down in front of the vent. Turn the machine on.
A working purifier should blow the ribbon outward at a steady angle. If the ribbon barely moves or hangs limp, the unit is not pushing enough air. This test works especially well for people who choose a quiet air purifier for their bedroom in 2026 because quiet models still need visible airflow to be effective.
Watch the dust pattern around your home
Your air purifier should change where dust settles. Before you start using the machine, notice the dust on your nightstand, shelf, or TV screen. Run the purifier for three days in the same room. Then check those same surfaces.
You should see less dust accumulation. If you see more dust near the purifier itself, that is actually a good sign. It means the unit is pulling particles out of the air and trapping them. Some dust may settle on nearby furniture before getting pulled in. That is normal. If you see no change at all, the machine may be undersized for the room or placed poorly. The best air purifier placement for maximum efficiency in every room can make a huge difference here.
Your nose knows
Your sense of smell is a surprisingly good air quality tool. Cook dinner one evening and note how long the smell lingers. The next night, run the purifier during and after cooking. A working unit with a carbon pre-filter should cut cooking odors in half within 30 minutes.
The same test works for musty basements or rooms with pet smells. If odors fade noticeably faster with the purifier running, the carbon filter is doing its job. If smells stick around, the carbon layer may be exhausted. Many people overlook this and end up wondering why your air purifier isn’t working as well as it should.
Track your allergy symptoms
This is the most personal test. If you have seasonal allergies or asthma, keep a simple log for one week. Rate your symptoms each evening on a scale of 1 to 5. Do this for three days without the purifier, then four days with it running in your bedroom.
Look for a downward trend. Many people find that their morning congestion improves after just two nights. A drop of even one point on your scale is meaningful. If your symptoms stay the same, the purifier may not be powerful enough for your space. You might need to look at how to choose an air purifier for asthma and allergy relief for a more targeted solution.
Common mistakes that fool you
Some things look like progress but are not. Here is a table to help you separate real performance from false signals.
| What you see | What it probably means | What to do instead |
|---|---|---|
| The fan sounds loud but feels weak | Noise does not equal airflow. The motor may be failing or the filter is clogged. | Run the white tissue test. If airflow is low, replace the filter. |
| The air smells “clean” or like ozone | Some ionizers create ozone as a byproduct. That smell is not clean air. | Check if your unit has an ionizer setting. Turn it off if you smell ozone. |
| The filter looks clean after months | A filter that stays white may not be capturing anything. HEPA filters should darken with use. | Hold the filter up to light. If you can see through it clearly, it is not trapping particles. |
| Dust disappears from surfaces | That could mean the air is moving dust elsewhere, not removing it. | Check if dust collects on the purifier’s intake grille. That is a sign of actual capture. |
The one-week test protocol
If you want a structured approach, follow this numbered plan. It takes seven days and requires nothing beyond a notebook and a little patience.
- Day one: Choose a room you spend a lot of time in, like a living room or bedroom. Wipe all visible dust from a single flat surface, like a shelf or nightstand. Do not run the purifier yet.
- Day two: Check the surface for dust. Note how much you see. Still do not run the purifier.
- Day three: Same check. You now have a baseline for how much dust settles in 48 hours. Turn the purifier on to its medium setting.
- Day four: Check the same surface again. Compare it to your day three notes. You should see less dust.
- Day five: Do the white tissue test and the ribbon test. Write down the results.
- Day six: Check the pre-filter. If it looks dirty, vacuum it. Repeat the tissue test after cleaning.
- Day seven: Review your notes. If dust is lower and airflow is strong, your purifier is working. If not, check for placement issues or a filter that needs replacement.
Expert advice: “Most air purifier problems come down to three things: a dirty filter, wrong room size, or poor placement. Fix those, and the machine almost always performs as promised.” This is the same principle behind why your air purifier needs a pre-filter. A little maintenance goes a long way.
What to check if nothing works
Sometimes you do all the tests and the results are still flat. Do not give up yet. Here are the most common culprits.
- Room too large: Your purifier has a rated room size. If your living room is 500 square feet and the unit is rated for 200, it will struggle. You may need a second unit or a larger model. Check how to calculate the right air purifier size for every room in your home for guidance.
- Unit placed in a corner: Air purifiers need clearance on all sides. If the intake is blocked by a wall or furniture, airflow drops. Move it at least 12 inches from any surface.
- Windows and doors open: An air purifier cannot keep up with outdoor air constantly bringing in new particles. Run it in a closed room for the best results.
- Filter bypass: Some cheaper units let air sneak around the filter instead of through it. If your filter stays perfectly clean after heavy use, that is a red flag.
Signs your air purifier is actually working well
Let us end on a positive note. When things are going right, you will notice these changes.
- You wake up with less stuffiness.
- The air in the room feels lighter, not heavy.
- You dust furniture less often.
- The pre-filter collects visible gray dust after a few weeks.
- Family members comment that the room feels fresher.
These are not scientific measurements. They are real-world signals that your investment is paying off. If you are still unsure, you can always read more about how to maximize air purifier effectiveness for a healthier home in 2026 to fine tune your setup.
Trust your senses, save your money
You do not need a $200 particle counter to know if your air purifier is working. Your eyes, nose, and a few simple household items can tell you the truth. Run the tissue test. Watch the dust. Pay attention to how you feel. These methods are free, repeatable, and honest. If your machine passes these checks, you can breathe easier knowing it is doing its job. If it fails, you now know exactly what to fix. Give these tests a try this week. Your lungs will thank you.